Restoring Chateau Shutters: Costs and Challenges
Maintaining a French chateau is full of charm—and surprises. One of my recent projects has been restoring the shutters on my chateau, and I wanted to share what this experience was like, along with the costs involved. If you’ve ever thought about restoring shutters yourself or are curious about what it takes, this is for you.
The Project: Breathing Life Into Old Shutters
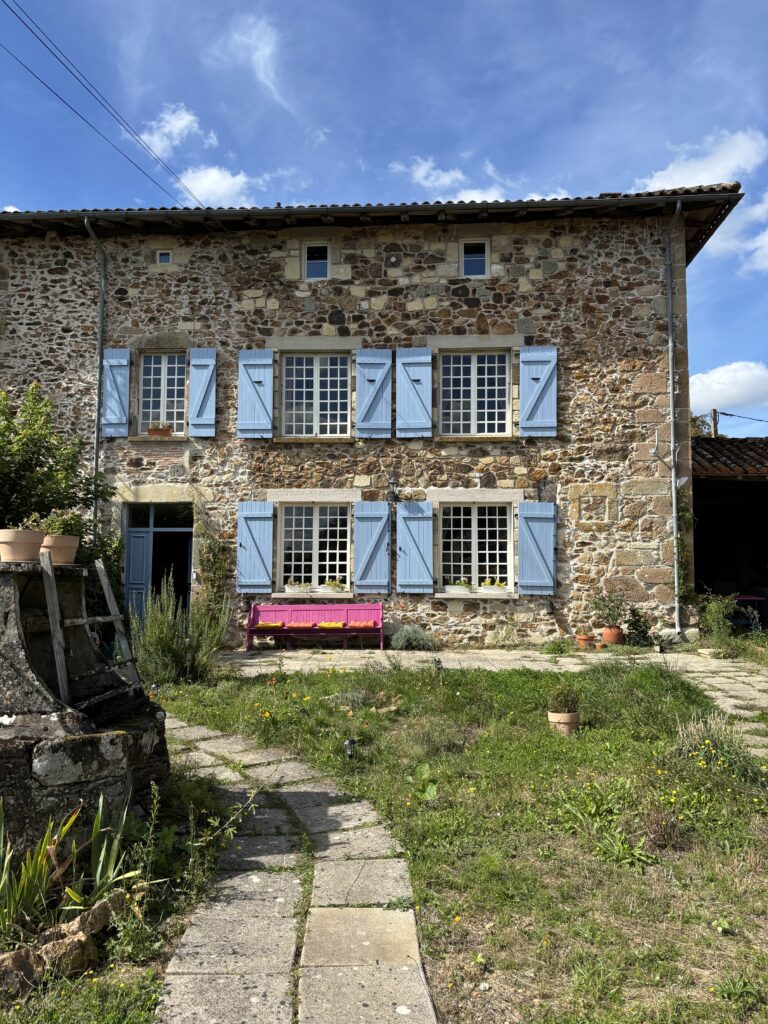
My chateau has shutters on both floors, and each set has its own character and challenges. Earlier this year, I tackled the downstairs shutters, and that was quite a learning experience. For the upstairs shutters, I decided to go with a different approach. The key lesson? Sometimes, you don’t need to overcomplicate things. A light sanding and a fresh coat of paint can work wonders.
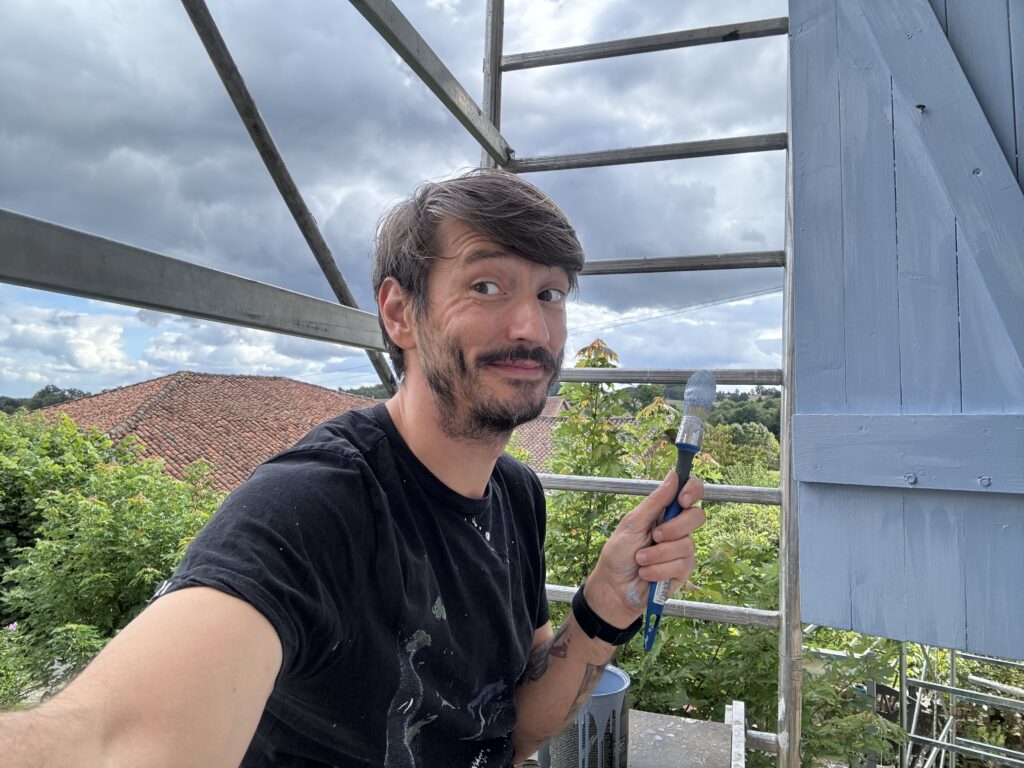
With the downstairs shutters, I experimented with different methods, including stripping the old paint entirely. I even used chemical paint strippers, which turned out to be a pretty unpleasant experience—despite wearing a mask, it felt like I could still feel the fumes lingering. So, for the upstairs shutters, I skipped the heavy-duty stripping process. Instead, I gave them a thorough clean, a gentle sanding, and then painted them with a beautiful blue color I had chosen earlier.


Tools and Materials: Keeping It Simple
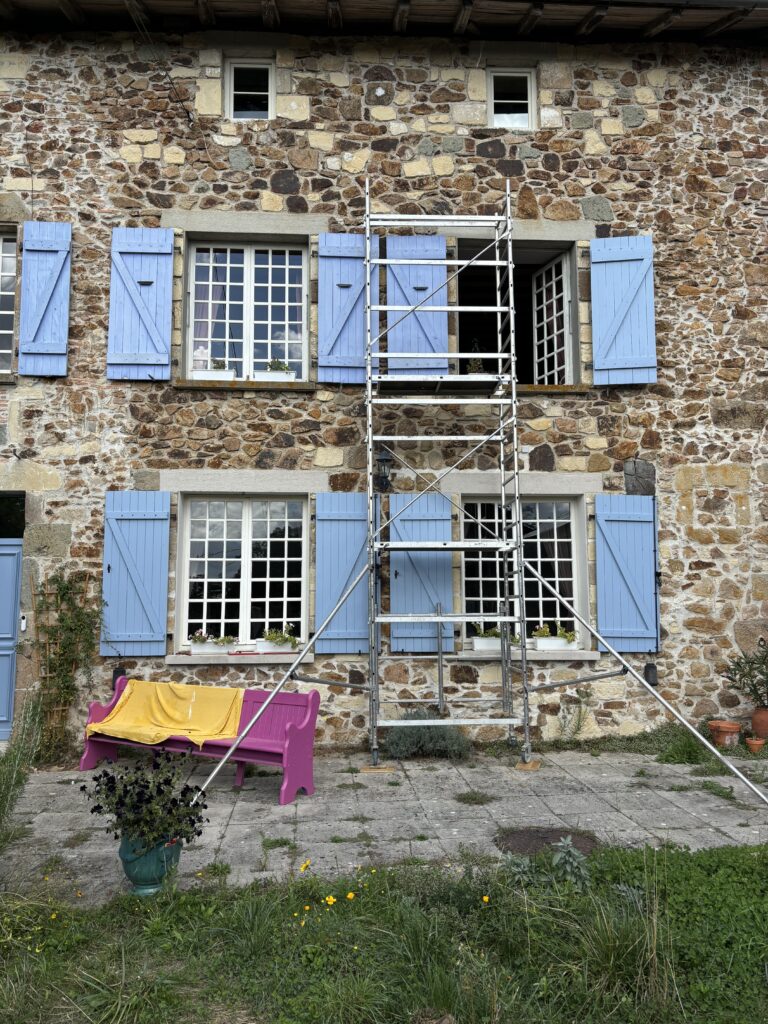
For this restoration, I was fortunate to have borrowed scaffolding from friends, which made the job a lot easier. Having the right equipment is crucial, especially when working at heights. My friends Joe and Tony were kind enough to help me set up the scaffolding, and I think I could even manage it myself now, thanks to their guidance.
The shutters needed just a bit of light sanding to smooth out any rough patches. I then used Little Greene’s James paint—a gorgeous blue-grey that adds so much character to the exterior of the chateau. It took some time to decide on the perfect color, but I’m thrilled with how it looks against the stone walls.
Unexpected Challenges
No restoration project is without its surprises. One challenge was getting the scaffolding in just the right position to access each shutter. It took some trial and error, but eventually, I managed to get it all sorted out. There’s something about working on a scaffold that really tests your patience—you have to stay calm and focus on safety, especially when shifting things around at height.
Another unexpected twist came from the old fittings. Some of the plugs had come loose, so I needed to secure them with a resin compound. It’s one of those little jobs that takes longer than you think, but it’s worth it to ensure everything stays in place.
Painting and Final Touches
Once the prep work was done, it was time to paint. I used a black anti-rust paint for the metal fittings, which contrasted beautifully with the green shutters. The entire process took a couple of days, including drying time. At the end of it, I stood back to admire the refreshed look of the shutters—everything matched, and it just felt right.
While I was at it, I also took the opportunity to give some of the downstairs shutters a refresh. It’s amazing how even a small project like this can make the whole place feel more polished.
Costs: What Does It Take?
Restoring shutters isn’t cheap, but it doesn’t have to break the bank either. Here’s a rough breakdown of the costs involved:
- Paint and Supplies: €150. The high-quality paint and brushes added up, but it was important to invest in good materials that would last.
- Tools and Equipment: Luckily, I could borrow scaffolding, which saved a lot of money. Otherwise, renting scaffolding can cost around €100 to €200.
- Resin and Miscellaneous: €50. Small items like resin for the plugs and extra brushes all add up.
In total, I’d estimate that this project cost me around €200 to €400. The time and effort were the bigger investments, but seeing the end result made it all worthwhile.
A Rewarding Process
There’s something incredibly satisfying about taking on these kinds of projects. Restoring the shutters wasn’t just about improving the appearance of the chateau—it was about preserving its history and character. Each shutter tells a story, and now, they have a new chapter written in fresh, vibrant colors.
If you’re considering restoring shutters or taking on any similar project, my advice would be to start simple. Sometimes, the easiest approach gives you the best results, and it’s always more enjoyable when you’re not overwhelmed with complicated steps. Plus, it’s a great way to feel more connected to your home.
Thanks for following along on this journey. If you’ve got questions about restoring shutters or anything else chateau-related, feel free to ask—I’d love to help out where I can!

Leave a Reply